Thursday, September 20, 2012

Confession #32: Wall decals are worth making

Follow Me on Pinterest
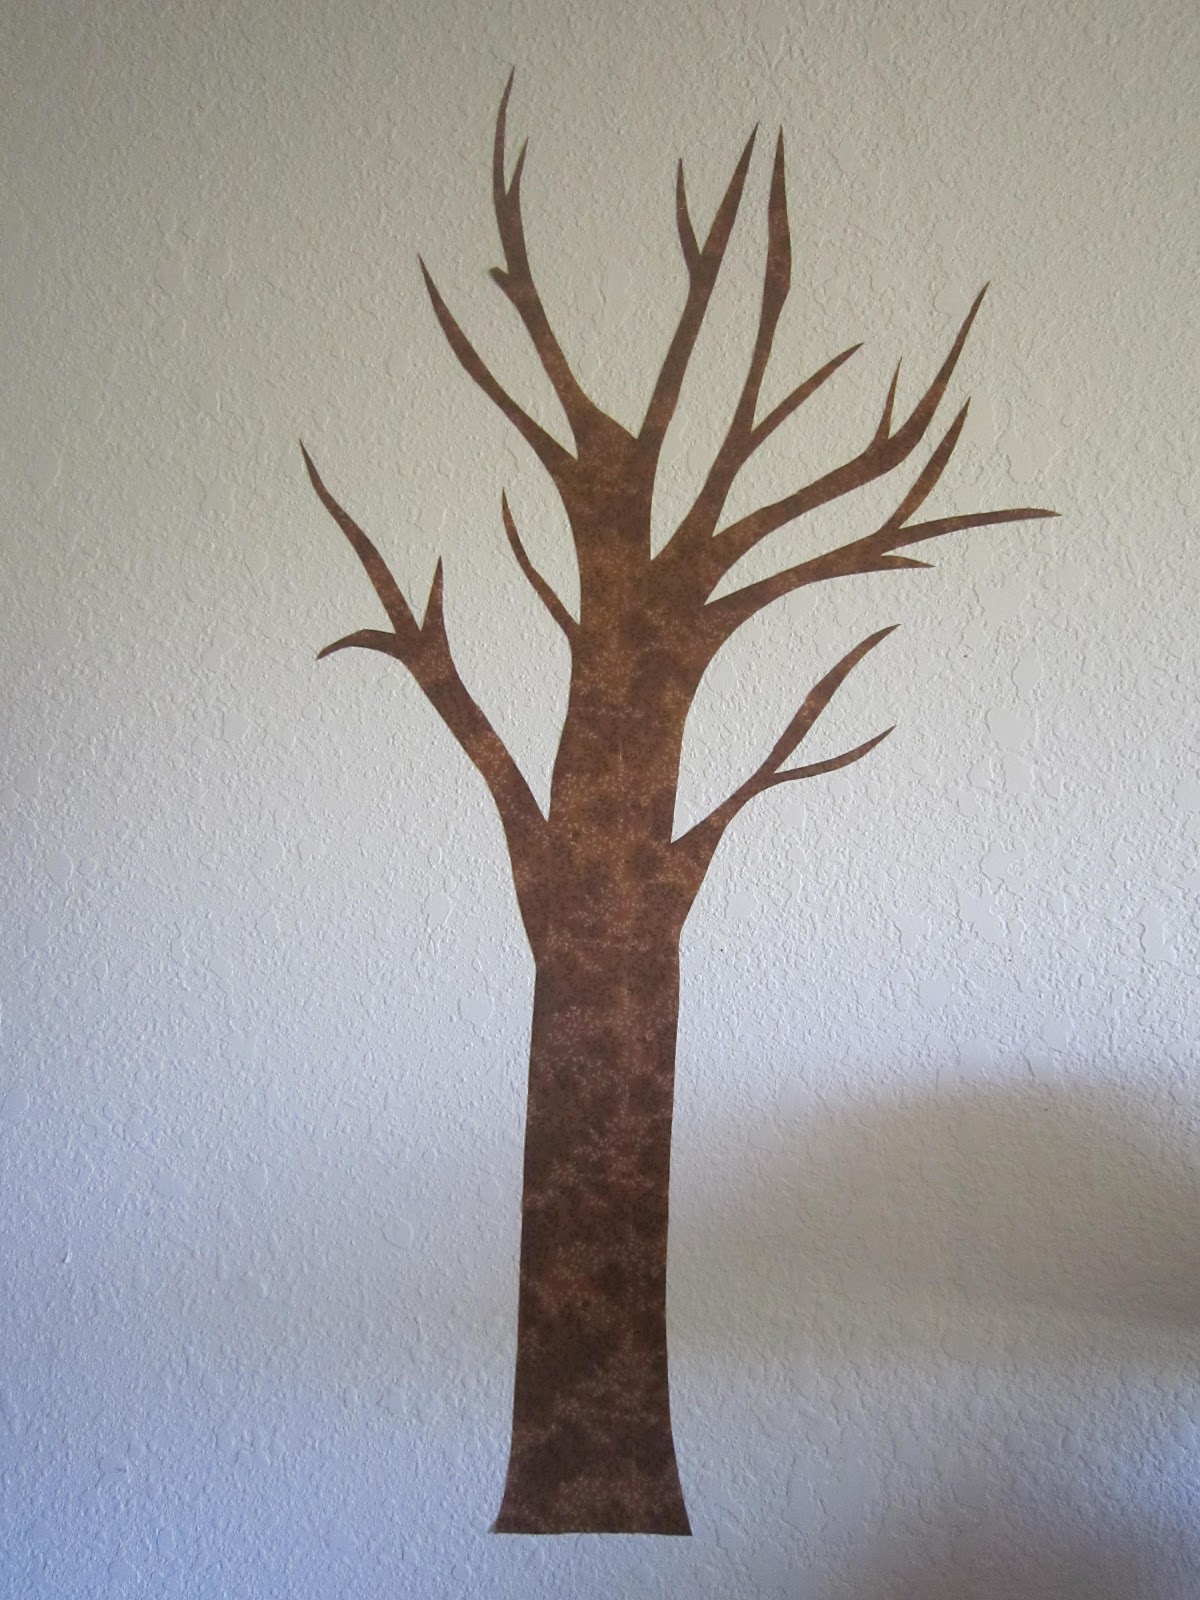
Since most of our family is so far away, I wanted to make Liana a family tree with photos of everyone on it, so that she can see her family everyday. I have seen many lovely wall decals that would work but they are pretty pricey. So I looked into making my own. I already had double strong Heat n Bond so all I needed to do it cut out the pieces. I started with a tree truck with branches.
Once it was all ironed onto the wall, I added the leaves. I cut everything out free hand but I did use some blogs as inspirations: Brittany's Budget Crafts and Curbly.
 
At this point I wanted to add some animals so I cut out a few owls and ironed them onto the tree. If you don't want a family tree, and just a cute tree, you could stop at this point and leave it.
 I actually like the look of it allot without the photos. But that would defeat the whole purpose of this project. So I cut out everyones photo and glued them onto each leaf. 
Here is the finished result. What do you think? Liana loves it. She likes me to name everyone over and over again. I hope that by the next time we go up with Washington or over to Hawaii she will know everyones name.
 
Close up on the owl and leaves
 
Close up on the photos. Notice one empty leaf....that's for Liana's new sibling due in Feb.
 
This project was rather easy. The only problem I faced was during the ironing process. Since you need to iron each item on with a towel over it, I felt like I could have benefited from a having a third hand. But I did successfully do this shoe free, as usual. I got everything cut out and ready for the wall while my daughter napped and was able to iron everything on while she played with blocks on the floor. Not bad.
 
Easy to follow steps:
1. Pick your fabric and trace or free hand your pattern onto the back of the Heat n Bond.
2. Iron the fabric onto the Heat n Bond. Fabric right side up. Follow instructions of the Heat n Bond.
3. Cut out pattern.
4. Peel off paper from back of Heat n Bond.
5. Place finished fabric on wall (one piece at a time), place a towel over the fabric, and iron it onto the wall. 5 second count.
6. Make sure it stuck but don't peel it or it will come right off.
7. Repeat until all your pieces are on the wall
8. Glue on photos as desired. But make sure to only glue onto the fabric and not your walls.
9. Use a fabric pen if you would like to write the names of your family members by their photos.
10. Step back and enjoy your handy work.


Monday, September 10, 2012

Confession #31: Blocks don't have to be plan

Follow Me on Pinterest
All Cut out and ready to sew
I came across a felt block from pinterest that was too cute not to repeat. It didn't provide a link so I just looked at the photo and tried my best to copy it.

I cut out 6 3x3 squares of different colored felt. Then cut different shapes, eyes, ears, noses, etc. for each animal face.
Next step was sewing it all together. I hand stitched it all so they took a while. Then sewed the squares together, stuffed them, and sewed them closed. Done! Only took me three evenings to make 9 animals blocks. Animals don't wear shoes either!
They stack up
The tails
Giraffe, Lion, Owl, Fox, Pig, Monkey, Polar Bear, Elephant, and Hippo. I'm thinking of adding some: Mouse, Frog, Panda, Bunny, Penguin, and Dog.


Sunday, September 2, 2012

Confession #30: I just love making ALL things

Follow Me on Pinterest
I love our local MOPs (Mothers of Preschoolers) and all the ladies who I have met through it. last year they introduced me to interfacing. I had a blast cutting out fabric and ironing it on onesies for my daughter. I have made a few sense but it's my latest project that I wanted to share with everyone.
It comes with a little back ground info, a few months back my husband and I were off to give blood. However, we found out that I was no longer eligible to donate. This actually came as a relief, not because I am afraid of needles or pain, but because I was actually excited about the diagnosis.
But I needed a cleaver way to tell my loved ones. So this is the reason for this particular interfacing project.
Interfacing is rather easy. All you need is the interfacing, an iron, a pen, fabric of your choice, and something to iron the fabric onto. First I laid out the shirt that I was going to iron the fabric onto and cut rectangles of corresponding fabric out so that all 6 of my rectangles would fit the shirt. 3 on the top and 3 on the bottom. Next you want to iron the fabric to the interfacing (follow the instructions that come with your particular type), Then cut out the letters and iron them onto the shirt. Its literally that simple. I ended up sewing around the letters to add some pretty detail. The whole project took me less than an hour and I was pretty happy  with the result.
And the diagnosis is....

Liana's going to be a big sister!


Liana modeling her new shirt


On the Whidbey Island ferry about to tell her
family about her baby sibling


I haven't taken many pictures of me, but here you can see the over growing belly. I'm around 3 months here.
We are super excited to expand our family. I'm due Feb 20th, I'm a little over 3 months along and already feel like a whale. But in a good way! I can feel him or her kicking more and more and Liana when asked "wheres the baby?" will run over and say "right here" and kiss my belly.
I love making things from toys to clothes, but babies are by far my favorite things to make. You heard it here first! More news to come.

Thursday, August 30, 2012

Confession #29: Not all 13 feet snakes have to be scary.

Follow Me on Pinterest
So thanks to a close friend of mine, I acquired a extra thick crib bumper. She didn't want it anymore because the fabric ripped. To some this might have been a reason to throw it out. But to me, it was just another reason to stay up way too late. I knew my daughter would find delight in playing with a 13 foot snake so I ripped the zipper off the zipper from the original cover and looked through my fabric stash for some fun colors.
I sewed a long strip of 19'' wide fabric until I had a little over 13 feet. I made some puffy eyes and a ribbon tongue. I also added some elastic to the tail so it would taper like rattle snakes tail. Finally I sewed the old zipper onto the fabric, sewed the ends shut and zipped the whole thing onto the huge pillow. my daughter loves it! It only took me a few barefoot hours (maybe 5). Here's the result:
A huge 13 foot snake has invaded my home

Liana even let her friend share it with her


I would have used huge buttons but wanted it to be safe for kids of all ages.

Liana playing in the snake circle

Great for naps too

So cuddly

A new meaning to "body pillow"

Tuesday, August 14, 2012

Vanessa It List: August

Follow Me on Pinterest
Ever since I graduated this past May, I have found myself crafting more than ever (even though I also started working 4 days a week). But I find myself blogging less. I think because it's so nice outside and I don't want to sit at a computer if I don't have to.

But I felt like I should share some of my lasted projects inspired by some wonderful fellow bloggers.

#1 Cloud Pillow by Refabulous
My attempt at a cloud pillow.
I used 100% cotton for the cloud (left over from my daughters training pants) and scrap fabric for the rainbow ties and I stuffed it with fabric and felt scraps too. It was rather simple to do and my daughter enjoys snuggling with it.


Fabric chart all ready for the growing kiddo
#2.  Fabric Growth Chart by The Ribbon Retreat

I used scrap fabric to make a rainbow pattern with my border and used left over fabric from my daughters reading nook for the center. It was a pretty simply, one evening project. Sorry for the poor lighting in the photo!


My version of paperless paper towels
#3 Paperless Paper Towels by Sew A Straight Line
Love these. I used terry cloth and three different patterns of fabric. I made them a little more simple than this blog did, but I still love them.


A pillow makeover

#4 Throw Pillow Covers by myself and Fab House Wife

I actually did this on my own but if you want a pattern, Fab House Wife has a great step by step with photos. The old pillow case was getting old and it wasn't vary soft, so I took Liana to the fabric store and she picked out the birds. They look great on our couch.


6 fish puzzles

#5 Fish Puzzles by Mama Savers
I did this for my felt activity exchange this month. I love how it turned out. Hope everyone I exchanged with does too.


Color wheel pillow (now lives in the reading nook)
#6 Color Wheel by, well, me!
Liana is into learning her colors right now, so to encourage the learning, I made her a color wheel pillow. She can name all the colors on it, even the while. It was a very simple project. Made from felt and stuffed with fabric scraps.


Well, that's all I have been up to. well, that and some more quiet book pages. Liana loves all her new goodies. And I enjoyed making them, bare feet and all.

Sunday, August 5, 2012

Confession #28: No-Sew Plastic Tub Makeover

Follow Me on Pinterest
The plastic tubs

No-Sew Plastic Tub Makeover

I have this set of plastic tubs that my old church handed down to us, they are really handy and I have enjoyed them alot. But I thought they needed a makeover. So I decided to cover them with different fabric (most of which where pillow cases I picked up at a local flee market) and line them with felt.

Just need to be lined.
First I traced the tub onto the fabric (right side down). I had two different tub sizes so I measured the two sizes and cut out 3 large and 5 small out of different fabric. I wrapped the outside of the tub like a present. Then used a hot glue gun to stick the fabric to the plastic tub. Making sure to smooth out the fabric and pull it tight.


Finished! Just need to put them back on their rack.


I picked out corresponding felt for each box. Then measured the felt for both size tubs and glued them inside to line the boxes. Done.


All put back together. It adds a fun look to her room.
It took me a couple of hours from start to finish to do all 8 boxes. Super simple. I did use a rotary cutter, which cuts the cutting time alot. But even with scissors, this is a simple, no sew, way to spice up some otherwise boring tubs.
And as always, no shoes required.


Wednesday, July 18, 2012

ABC Quiet Book Page Ideas

Follow Me on Pinterest
I have recently joined an ABC quiet book exchange. We each make only 4 letters but multiple pages of the same letters, mail them out to everyone in the group, and wait to receive the other letters. Then once we have all 26 letters we will sew our completed ABC books together. Here are the ones I am working on:

H is for House.

Inside the windows of the house:
Hammer, Hot (sun), Hat, and Heart

F is for Flower. The petals can come off and the little lady bugs move around

A is for Abacus. The beads move

F is for Fish. The first snap on and off

N is for Nest. The owls can go in and out of the eggs.


I joined two groups so I have 3 more letter pages to go. L is for Ladybug, T is for Train, and U is for Umbrella. I will add them to this as I finish them. And a photo of the finished book. I am really excited for this. I hope Liana enjoys it for years to come.