Tuesday, February 21, 2012

These Are A Few Of My Favorite Things: Feb's 10

Follow Me on Pinterest
The Janssens are heading out tomorrow for the Dominican Republic. My husband and I lived there for 8 months teaching English almost two years ago. We are going back to see old friends, show off our baby (I was 20 weeks pregnant when we left) and help out with OCC. Even though the Janssen house is crazy right now I promised you I would do a posting once a month on my favorite recycled crafts, and I didn't want to let you down. So, kick off your shoes (I, that reminds me I still need to pack shoes) and get your craft on.
The Crafty Crow
1. Cork Snake by The Crafty Crow (free)

This was so easy to make and fun for my daughter to play with. I have been collecting corks for many projects and stumbled upon this one a few days ago. I just had to make it. Click on the link above for more great gift ideas you can make your kids.
El Mundo Del Reciclaje
2. Plastic jug turned bucket from El Mundo Del Reciclaje (free)
Ok, the directions for this are in Spanish but the photo pretty much speaks for itself. It was super simple and great for taking to the beach, pool, or just planing with in the back yard.


3. Crayon Holder by Brown Paper Packages ($1, for the crayons)
I found this idea on pinerest through Brown Paper Packages. I don't know if it was her idea or if she just pinned it from someone but there wasn't a link. Either way, it's a great idea! I am bringing crayons on our plane ride and was excited to put them in this case. So simple, but so awesome.


Ana White
4. Reading Nook by Ana White (under $20)
The recycled aspect of this one is that I used an old sheet for the sides. I haven't quite finished mine, but I am super excited about it.


The Crafty Crow
5. Cork Stamps by The Crafty Crow (free)
I love stamps and these are free and easy to make. And my daughter loves using them. This blog also has a whole bunch of other cork craft ideas.


 6. Canning Lid Colors (free, using scrap paper)
I got the idea from Brown Paper Packages but she used frozen juice lids instead of canning lids. I canned alot this summer/fall so I have tons of these lying around. I am glad they were put to good use. The back side of each lid says the name of the color.


7. Crib Makeover by Apartment Therapy (free, using an old crib)

My grandma gave me an old crib (about the size of a bassinet). And when I found this crib makeover on pinterst I knew that I wanted to make it. As soon as I put the crib together Liana grabbed all her dolls and tucked them in. Even though I was planning on making it a desk, I decided that Liana sees it as a doll bed. And it just so happened that her old changing table pad was just the perfect size.

8. The Better Bolder Wipey Holder by Crafty Mama (free, using scrap fabric)
I bought Abby Pecoriello's book Crafty Mama a couple years ago and love it. I have made tons of awesome fast crafts from her book. This one only requires fabric, ribbon, an old wipe box and a glue gun. So easy. I use it to keep Liana's finger nail clippers, brush (in case she needs it sometimes), etc.


9. Egg carton Planter by Tiffany C'de Baca Moncada (free if you can get seeds someone)                                                                          One of the first MOPS meetings I went to was in the Spring. Tifffany showed us how to start seeds in an old egg shell carton. I had never tried that before. The seeds I planted that day turned into the tomatoes and peppers I canned that Summer. If you have never done this before check out Austin Children's Museum website for more info.

10. Glass Jar Terrarium by Craft Zone (free if you already have potting soil)There is an endless possibility of what you can put in your terrarium. They are pretty much free too! I used an old pickle jar, moss and rocks from my yard, and potting soil I already had.

Ok there you have it. I am off to finish packing, see you in March.

Monday, February 20, 2012

Confession 15: Giveaways make me happy!

Follow Me on Pinterest
I love free stuff. Who doesn't? So I wanted to let everyone know about the awesome giveaway happening at Ball Hank n Skein. Check it out before it's too late!

http://www.ballhanknskein.blogspot.com/2012/02/focus-on-photography-conversation-and.html

Saturday, February 18, 2012

Vanessa's It List: The Top 8 Reasons I Need a Bigger Kitchen

Follow Me on Pinterest
Well I am finally done with midterms (killer) so I thought I would drop a line and give you a taste of what I have been doing this last week when I should have been studying. Keep in mind that my kitchen is probably the size of your bathroom! Hope you enjoy, and I hope I passed my exams. Eek. I studied barefoot, hope that helped. 
The Top 8 (sorry I ran out of time) Reasons I Need a Bigger Kitchen

Reason #1. Homemade Pasta
I tried making pasta for the first time. I used whole wheat on the first batch and I wished I had done half whole wheat, half white (which is exactly what I did the second time around). They were great. Thank you Pioneer Woman for the recipe.


Mr. Dry meet Mr Wet
 Reason #2 CranCocoOat Cookies.
I was really craving cookies the other day but didn't have any chocolate chips, so I came up with this recipe.

Recipe:
Wish I had taken them out a few minutes earlier
3/4 cup sugar
¼ cup brown sugar, packed
½ cup grapeseed oil ( I used Wildtree) 
1 large egg 
½ teaspoon vanilla extract (make you own)
½ teaspoon cinnamon
¼ teaspoon salt
¾ cup whole wheat flour
1 ½ cups whole oats
½ cup coconut flakes (I used unsweetened
¾ cup craisins
Mix the top 5 ingredence together until smooth. In seporate bowl, mix the next four ingredence. Add to wet mixture. Stir in coconut and crazins. Line baking sheet with partchment paper or Silpads and drop a spoon full at a time onto the sheet. Bake in a pre-heated 375 degree oven for 8-11 minutes (more like 8 if you have my oven). Cool on a wire rack and enjoy with milk!
I also made a plan chewy coconut cookie. It was awesome too.

                                             Reason  #3 Soft Pretzels
 I am a carb addicts so I was excited to see if I could turn my pizza dough into soft pretzels. The verdict: Yes, I can!

First off prepare the pizza dough just like my directions (click here for recipe) but instead of pulling the dough into two equal balls, make 6 balls. After those have set for 15 minutes roll the balls out one at a time and twist into the pretzel shape.

 Mix together 1 cup of water and 1 teaspoon baking soda. Dip each pretzel into the baking soda water and place on a lined baking sheet. Sprinkle with sea salt and cook in a preheated 450 degree oven for 10-12 minutes. (my oven is wack so it only cook 8 mins). While they are cooking melt 2 tablespoons butter. Take pretzles out of the oven and brush with butter. Place on a wire rack, with something underneath them to cetch the drips, and cool. 

Sweet and Creamy Mustard dip:
 (thank you Food network!)
1/4 cup mayonnaise
1/4 cup dijon mustard
3 tablespoons packed light brown sugar
1/2 teaspoon cider vinegar
The brown mustard shown is from my friend Erin (thanks!).
Reason #4 Onion Bread Twists
Oh So Onion Twists

So keeping with my love for pizza dough, I made some soft bread sticks. Prepare pizza dough as directed but devide dough into 6 equal balls instead of 2. After 15 minutes roll into long logs (about 18 inches) and twists. Hold the two ends together and let it twist onto it's self. Pinch the ends a little so that they hold together and place on a lined cookie sheet.  Mix 2 tablespoons of grapeseed oil (I used Wildtree) and 2 teaspoons seasonining of your choice (I used Wildtree Oh So Onion Blend). Brush each twist with seasons oil and place in a pre heated 450 degree oven for 10-12 minutes. When you take them out you can brush them with a little more oil and cool on a wire rack. Yum!
Cimmamon Sugar Twists

Bonus: Craving something sweet? Change it up and sub the onion blend for 2 teaspoons sugar and 1/4 tea cinnamon.


The production Line
        Reason  #5 Butternut Squash Ravioli
Since I had mastered the art of making pasta (or atleast attempted it a few times), I decided to try my favorite: butternut squash ravioli!. I didn't know what I was doing so I jack a recipe from food.com


Blueberry, blackberry, orange and plain yogurt
Reason #6: Flavored Yogurt
So we have been unjoying our homemade yogurt a lot lately, but I wanted to change things up so I added 1 cup of frozen blueberries to 1 quart of yogurt. I threw it into the food processor and...tada: blueberry yogurt! I did the same with blackberries and frozen orange juice concentrate. I want to try strawberries when they come in season. And you could always mix in maple syrup (thanks Kopavi for that tip) and honey. And don't forget the ground flax seed!
 So good and only simple.

Bean and rice burrito
Reason # 7 Homemade Tortillas
I got my recipe from The Urban Spork. It was so simple. The only change I made was I did 1/2 whole wheat flour and 1/2 white flour. And I added 1/4 cup ground flax seed (I pretty much add this to everything).
Crackers can be any shape!
Reason # 8 Homemade Crackers
I have made over 10 different recipes of crackers since this year started.
These are my favorites:
Cheeze crackers by Happy Smple Living
Ritz by Cupcake Project
Olive Oil Crackers by Yes I Want Cake
Most of the time with these crackers if it called for all purpose flour I used 1/2 whole wheat and 1/2 white flour. And of course, I added a little ground flax seed. 

The snack that smiles back...
Also I want to note that I think in order to prevent your crackers from burning (my first batch was runied), I cut the cook time almost in half and put them in the dehydrator for a couple of hours. This way they crisp up and wont burn! (Yes, I'm a genious)
Ok, there's 8 reasons why I need a bigger kitchen. Now if I can make all of this in a kitchen the size of a standard bathroom, what's your excuse?

Monday, February 13, 2012

Confession #14 I can knit and walk at the same time!

Follow Me on Pinterest

The pig that started it all


So I have been really swamp with midterms this past week but I wanted to check in. When I have time for anything else I have been cooking and knitting. I actually just wrote up a 8 recipe blog posting but was getting frustrated on the format so I decided to take a break from blogging to...um blog.
So this is going to be a short one cause I don't want to have to take a break from it too.
I filled an order the other week (see photo of the pig and rabbit) and wanted to share it with you. Cause this is kinda the inspiration for my newest project. "What is your new project?" you ask Well, I am making puppets. I am knitting them just like I did the little piggy at the top (he's smaller than the rest of them) but instead of stuffing and closing the bottom, I am leaving it open. I also am not doing the legs. So far I have a pig (can you tell they are my favorite animal yet?), a bunny, an owl, and half a doll (I am not quite finished with her). They are turning out really good. I will be posting photos...and maybe, if you're nice, my first pattern giveaway!
Can't wait for the pattern?  Order one from my facebook page Where Pigs Fly. 
Newest animal creations

Sold this one right before Christmas

These four I made while waiting for Liana to hatch

Monday, February 6, 2012

Confession #13: Braids aren't just for hair anymore

Follow Me on Pinterest
I was hungry the other day so I was on Allrecipes.com looking for something to make. And that's when I discovered the joy of stuffed braided bread! So sit back, take your shoes off, and fill your bellies with something yummy.

 I didn't really follow the calzone recipe but it did give me the idea. I used my own pizza dough recipe because I know I already love it. I used this pizza dough recipe for all three of the recipes below.

Vanessa's Pizza Dough for Lazy People:
6 1/2 ounces of water
1 cup unbleached flour
1 cup whole wheat flour
1 Tbs dry skin milk
2 Tbs sugar
1 ts sea salt
1 Tbs butter
1 1/2 ts dry active yeast
1/3 cup ground flax seed

Mix everything into a bread maker and select Dough. Walk away and enjoy your day or prep the pizza sauce. Dough cycle takes about 1 hour and 20 minutes. After the buzzer sounds, remove dough and place in a greased bowl. Cover with plastic wrap and place in the oven (DO NOT TURN ON THE OVEN). After 20 minutes, take out and pull into two equal balls. Place in separate greased bowls and cover with clean cloth for 15 minutes. Place back in own (DO NOT TURN OVEN ON).


Vanessa's Braided Calzone


1 red onion, roughly chopped
2 cups spinach
1 cup shredded cheddar cheese (you could use any type of cheese, but this is what I had)
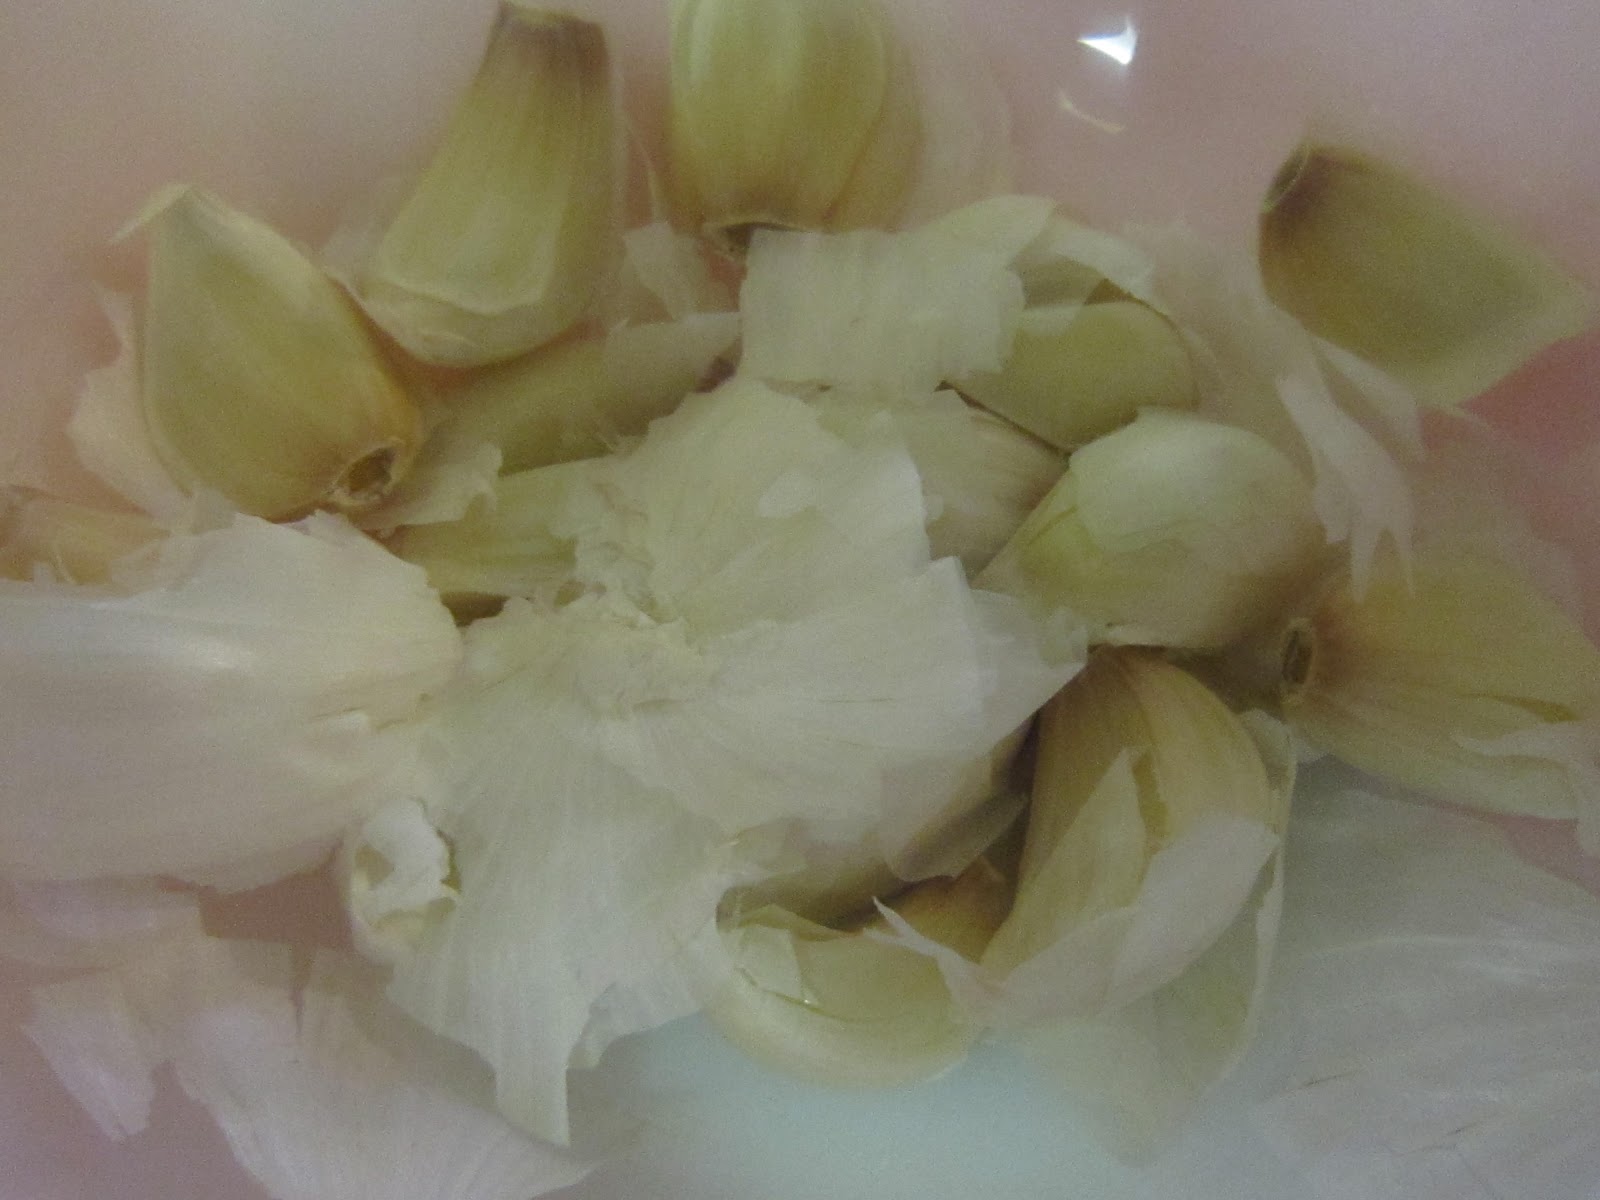
1 head of garlic, roasted (yes, we love garlic in this house)
1 cup pizza sauce (see below for a recipe to make your own)
1/4 cup sun dried tomatoes (see directions below to make your own)
1/2 cup corn (Something we started adding to our pizza after we lived in the Dominican Republic)
1 egg white for brushing
1 loaf of my pizza dough
Of course you can use whatever ingredients you want.

1.  I didn't have pizza sauce so I made my own using one of my canned tomato pints, sage, oregano, a little Wildtree grape seed oil, and garlic ( I peeled in seconds). I simmered it while the bread was in the machine for about 35 minutes. Until it was good a thick.

Fill it up with topping of your choice!
2.  In an other sauce pan I caramelized the chopped onion. Once the onions were done, I put them into a bowl for later. I used the same pan from the onions to wilt the spinach.

3. Once everything was ready I placed a sheet of parchment paper on a cookie sheet. I rolled out the dough into a rectangle so that it would fit the whole area of the cookie sheet.

4. Next place the pizza sauce in the center of the dough, in the form of a rectangle. Layer your ingredients over the sauce. Top with cheese. .
Ready to go in the oven (I wish I had used parchment paper)
5. Fold the small ends of the dough over the filling. Take kitchen scissors and cut strips along the sizes of the dough, stopping 1/2 inch before the filling. Now "braid" the bread by overlapping one strip at a time. Alternating between the sides (see photo to your right).

6. Your last step before baking is to brush the top of the calzone with the egg white. I also sprinkled the second one I made with crushed red papers, sea salt, and basil.

Doesn't it look amazing!
7. Place it in a pre-heated 350 degree oven for 15 minutes. The recipe on Allrecipes left it in for much longer. But I found it was perfect after only 15 minutes. Your oven may differ. Let cook on a wire rack (5min) and enjoy!
The verdict: Amazing and fun. It tastes SO good and was fun to make. I think next time I will put sausage in mine.


I loved how this turned out so much that I thought "What else can I put in bread?" Turns out, a lot!

For The Love of Cooking has a recipe similar to the one below but they used store bought dough.
So this is my version:

Vanessa's Braided Breakfast
Braided Breakfast fresh from the oven
5 eggs, I egg white separated
1/2 cup cheddar cheese, crumbled or cut into cubes
1 Tbs milk
1/4 cup chopped green onion
1 cup spinach
1/4 cup sun dried tomatoes
1 serving of my pizza dough
sea salt and pepper to taste

1. Whisk the eggs (excluding the 1 egg white) with milk, salt, and pepper. Want it hot? Add some cayenne pepper. Cook scrambled eggs in skillet. Once eggs are almost done add spinach and green onion.

2. Place dough on parchment paper on a cookie sheet. Roll out dough into a rectangle to fill the sheet. Place egg mixture on the center of the dough (just like the calzone). Top with cheese and sun dried tomatoes.

3. Cut and fold the dough (see Step 5 of the calzone recipe).

4. Brush the top with egg white and place in a preheated 350 oven for 15 minutes. Let cook on a wire rack (5min) and enjoy!

Verdict: If you get up early enough before breakfast, make this! Next time I am going to add potatoes and sausage.

My third braided meal came to me from Rhodes Bake n' Serve Blog. Of course I didn't use Rhodes bread but I would have never thought of this on my own. Here's my version:

Spaghetti Bread, get it before it's gone!
Vanessa's Spaghetti Braid

6 ounces of brown rice pasta
1 cup pasta sauce (I used the pizza sauce from the calzone recipe)
1/2 cup cheddar cheese, cubed
1 egg white
1 loaf of my pizza dough
a pinch of red pepper flakes, basil, and course sea salt

1. Cook pasta according to directions, drain, and toss with pasta sauce.

2. Line coolie sheet with parchment paper. Roll out dough In rectangle to cover the sheet.

3. Place spaghetti in the center of the dough, forming a rectangle. Place cheese evenly on top.

4. Fold and braid dough (see calzone recipe Step 5)

5. Brush with egg white and sprinkle red pepper flakes, basil, and sea salt on top.

6. Cook in a preheated 350 degree oven for 15 minutes. Cool on a wire rack (5min) and enjoy!

Verdict: My husband and daughter ate the whole thing. So it must have been awesome.


So there you have it, 3 braided bread recipes. And if you love bread, you will love them. I am sure in the weeks to come, I will come up with more braided bread recipes. I just love the idea.

And if  you don't like the idea of using parchment paper, a friend of mine (you know who you are) introduced me to the world of Silpat. They are essentially reusable baking sheet liners. The most amazing thing is that you can roll out your bread on them and instead of transferring your masterpiece to a baking sheet, you just lift up the Silpat and put it on top of the baking sheet. Keeping your cookies, bread, cinnamon rolls in perfect condition. I have yet to go buy one but I plan on doing it real soon. Your local mom and pop kitchen store will probably carry them. No more throwing out or buy parchment paper!

Make your own Sun Dried Tomatoes

Cut cherry tomatoes in half
Place on a screen skin side down
Place screen out side for 4-5 days. Or until completely dried.
If you want to do this in a dehydrator, just turn the dehydrator on med and leave in over night. Add more time if not completely dried.
So simple and yummy!

Saturday, February 4, 2012

Confession #12: I wish I had thought of this first....

Follow Me on Pinterest

All you need to peel a whole head of garlic in 10 sec!
 I found something amazing on the Internet the other day.
What was it Vanessa?
Glad you asked. So have you ever needed garlic for a recipe but hate the way it makes your hands smell? Or have you ever just wanted to save time in the kitchen? Well, there is a video going around the web about how to peel garlic in 10 seconds. That's right, you too can peel a whole head of garlic in 10 seconds. What do you think: fact or fiction?
The head of garlic is under the small bowl, ready to be crushed!
Well, I pride myself in not believing everything I hear, especially when it comes to the latest kitchen gadget. You too can own the Super Awesome Miracle Tool for only 3 easy payments of $99.99! But the difference between the Super Awesome Miracle Tool and the garlic video is that the garlic video wasn't trying to sell me anything. It was just showing me how to save tons of time in the kitchen.
The cloves.
Ready for some shakin'
 Curious, I needed to try it. All you need are two stainless steal bowls (one smaller than the other) and a head of garlic. I didn't have any stainless steal bowls so I was hoping that my vintage Pyrex would do the trick.
First place the whole head of garlic in the larger bowl. Next place the smaller bowl inside the larger one and press down, crushing the garlic. In seconds all your cloves are now separated. Yeah! So far so good. Even worked in my Pyrex bowls.
Perfectly pealed garlic in seconds!
Next take the garlic cloves and place them in the larger bowl. Put the smaller bowl upside down on top of the larger bowl. I used a lib instead. last step: shake it like a Polaroid picture. And when I say shake it, I mean shake it as hard as you can. I think this is where having metal bowls would have helped. It took me far more than 10 seconds to complete this. But as you can see from the photo, all my little heads of garlic are peeled. And my hands still smell like soap! It truly made my day.
So now I have all this garlic...what to do? What to do?


If you thought that was cool, my sister, Heidi, told me about the power of  tin foil on scissors. It's super simple. You take a piece of tin foil and fold it over a few times. Cut the tin foil with your scissors and they sharpen as they cut. Voila, they are like new again.
After googling "tin foil sharpens scissors," I also learned that you can prevent your clothes from clinging by throwing a small crumpled up ball of foil into your dryer. Wow!

Well, it's a short post today but I have midterms next week so I am busy making flashcards (Working on a Bachelors in Physical Fitness, graduating this Summer). I will be cooking a couple yummy (or at least I hope) recipes this week, so stay tuned. Think braided bread recipes and pasta....Yum!